
Export ArcGIS data to Excel and create a connection
Objective: Export ArcGIS attribute data to an Excel table and create a data connection.

Start the assistent "Create connection"  in the ArcGIS toolbar of the GISconnector.
1. Choose the ArcGIS data source for which you intend to create a connection.
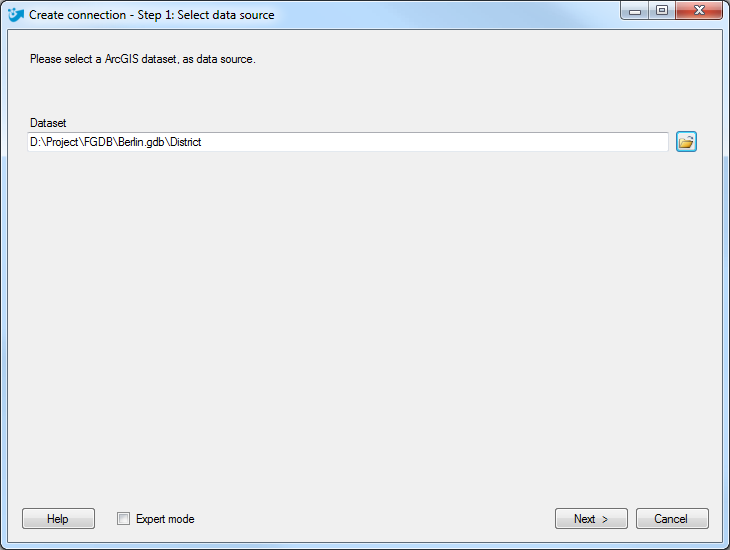
Press "Next >".
2. In the next step, keep the option "Export ArcGIS data to Excel and create a connection"
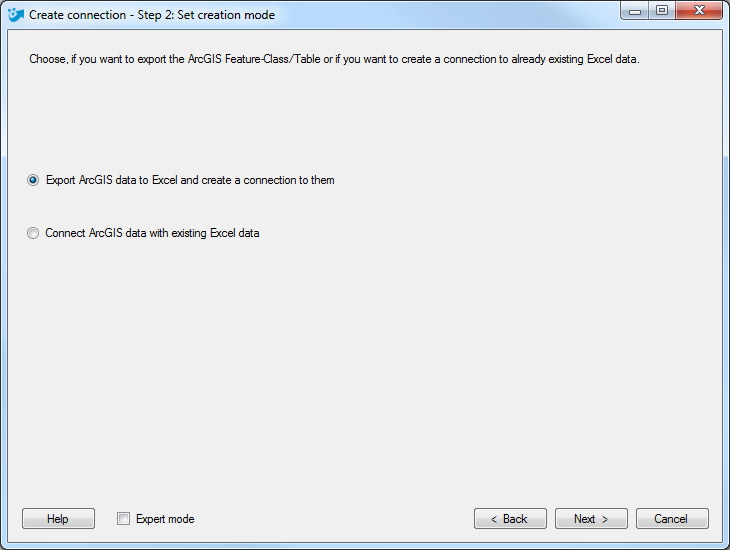
Press "Next >".
3. Define the export target. Choose either an existing Excel file or create a new one.
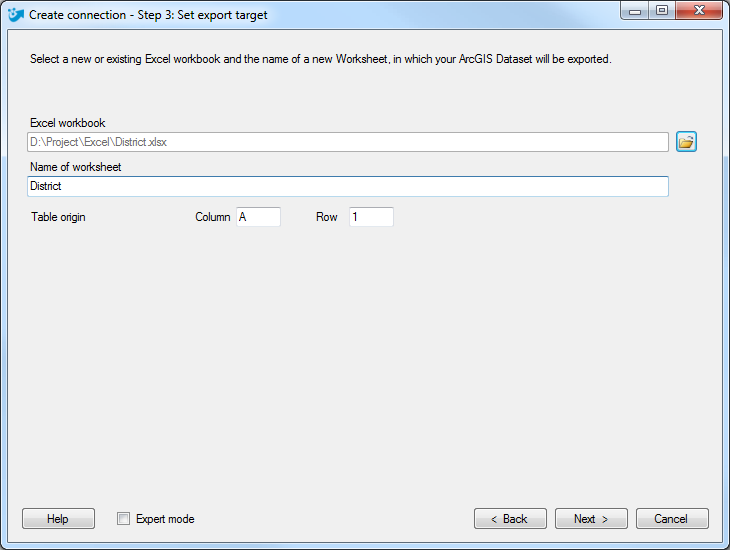
Press "Next >".
If you have activated the expert mode you can additionally define which columns should be exported to Excel. Futhermore, you can set the transfer options regarding columns and rows for the connection you are about to create. If you do not use the expert mode, the GISconnector will keep the standard options defined in the basic settings.
4. Enter a name for your connection or keep the default name. The option "No records (schema only)" exports the table schema to Excel and enables a special workflow to export only a part of your ArcGIS data to Excel.
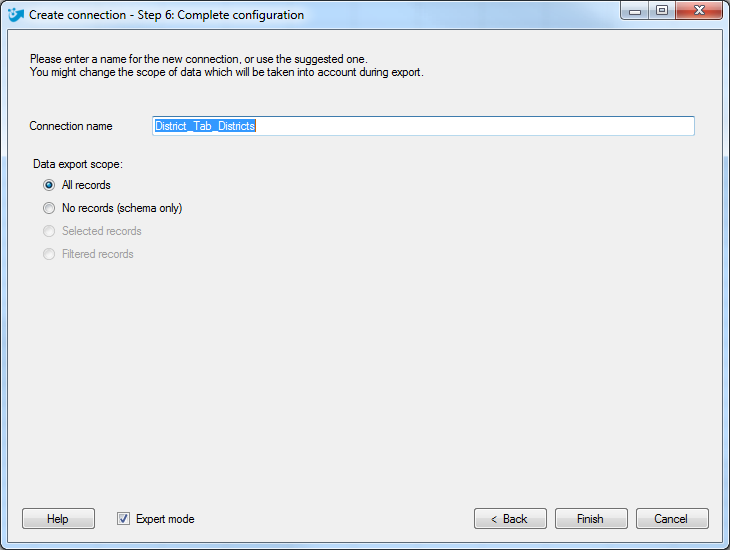
Press "Complete >".