
Export Excel data to ArcGIS and create a connection
Objective: Export Excel data to ArcGIS and create a connection subsequently.

Start the assistent "Create connection"  in the Excel toolbar of the GISconnector.

Choose the upper left column heading of your data table in your spreadsheet. In this example, the table origin resp. the column headings start at A1.
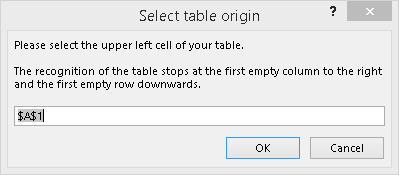
The GISconnector assumes that all columns and rows adjacent to the table origin belong to this table. The recognition of further columns can be prevented by an empty column or a column without heading. Respectively, the recognition of further rows can be avoided by an empty row.
1. In the first step, you see a summary of you Excel data source.
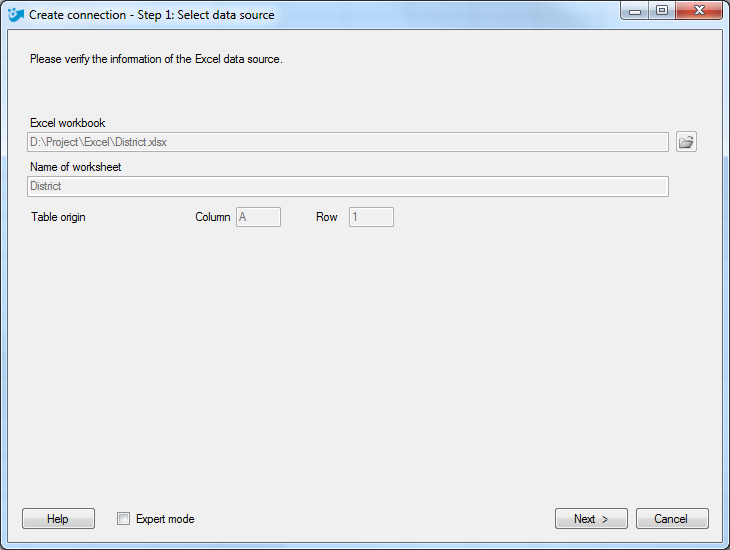
Press "Next >".
2. In the second step, go on with the pre-selected option "Export Excel data to ArcGIS and create a connection"
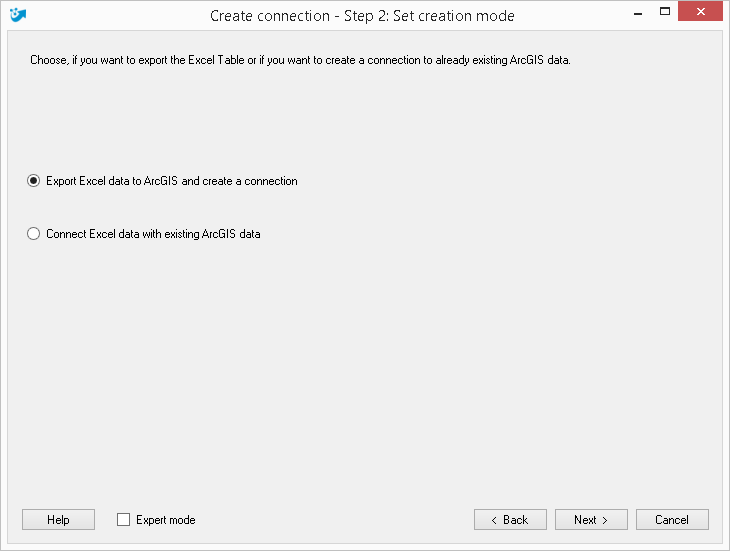
Press "Next >".
3. In the third step, select the name and the storage location of the table you are about to create.
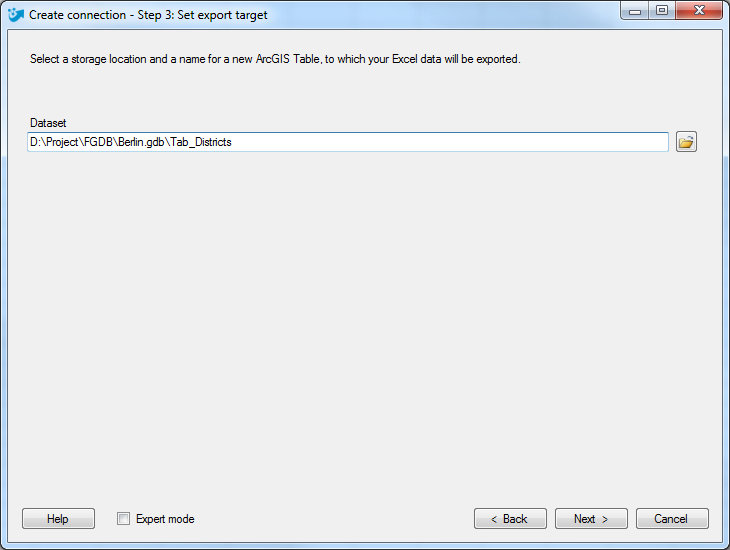
Press "Next >".
If you have activated the expert mode you can additionally define which columns should be exported to ArcGIS. Futhermore, you can set the transfer options regarding columns and rows for the connection you are about to create. If you do not use the expert mode, the GISconnector will keep the standard options defined in the basic settings.
4. Enter a name for your connection or keep the default name. The option "Schema only (no records)" exports the table schema to ArcGIS and enables a special workflow to export only a part of your Excel data to ArcGIS.
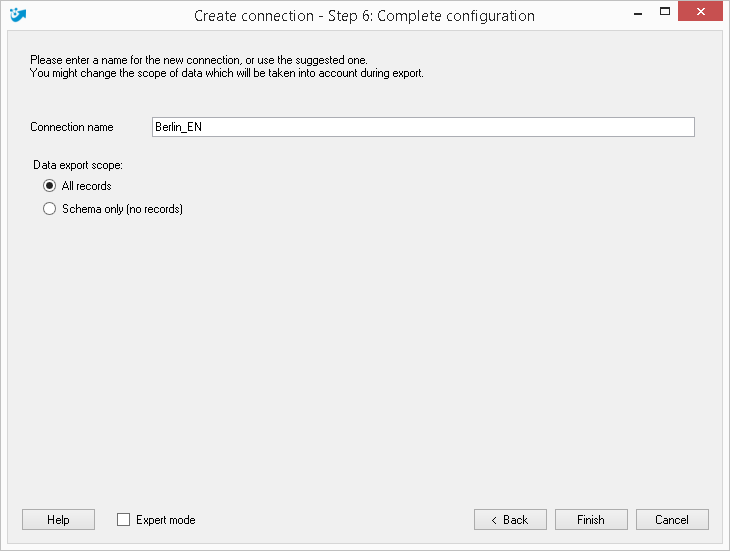
Press "Complete >".