
Lection C: Create filter in Excel and send to ArcMap
Task: Create a filter in Excel and send it to ArcMap as a definition query.
1. Switch to Excel by pushing the button  "Switch to Excel".
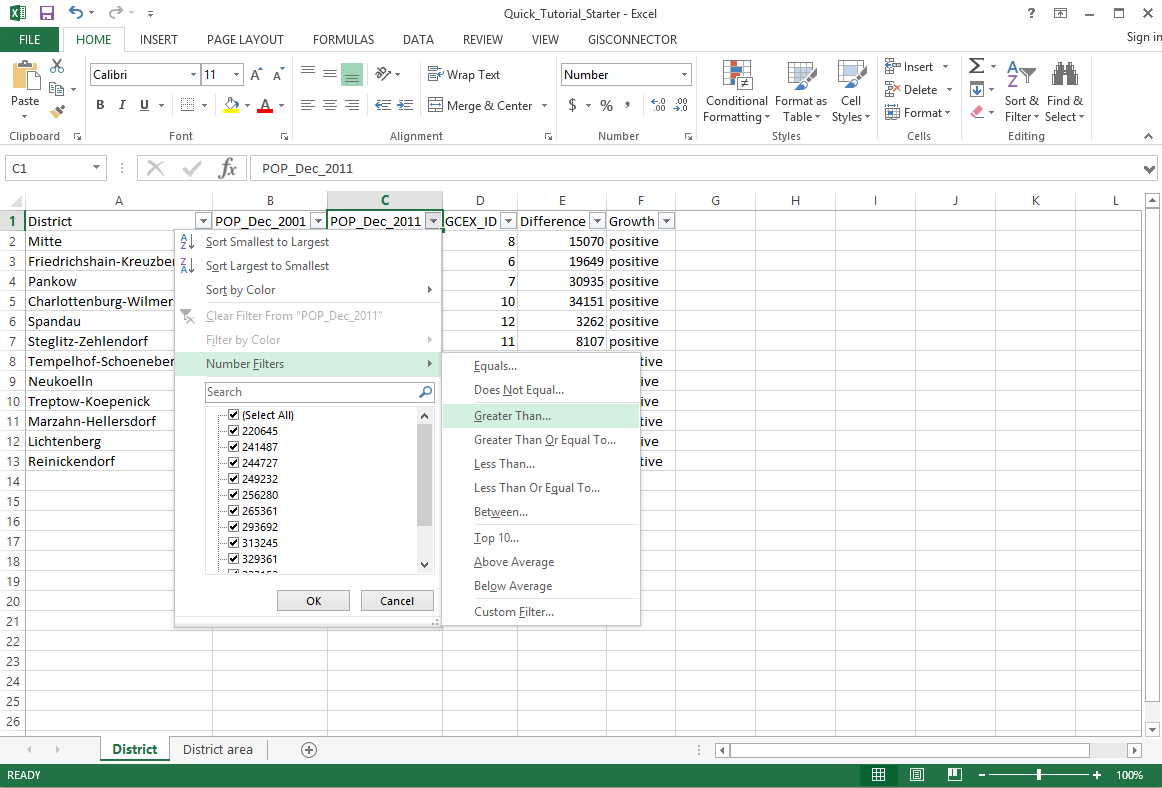
2. Mark the column „POP_Dec_2011“. Switch to the index HOME. Open the Dropdown menu "Sort and Filter". Click "Filter".
3. Now create a number filter. In order to do this, right-click the Dropdown arrow in the cell „POP_Dec_2011“ and select Number Filters → „Greater Than…“.
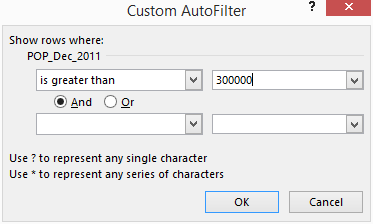
4. A Custom AutoFilter is going to open. Choose to display all rows greater than 300.000.
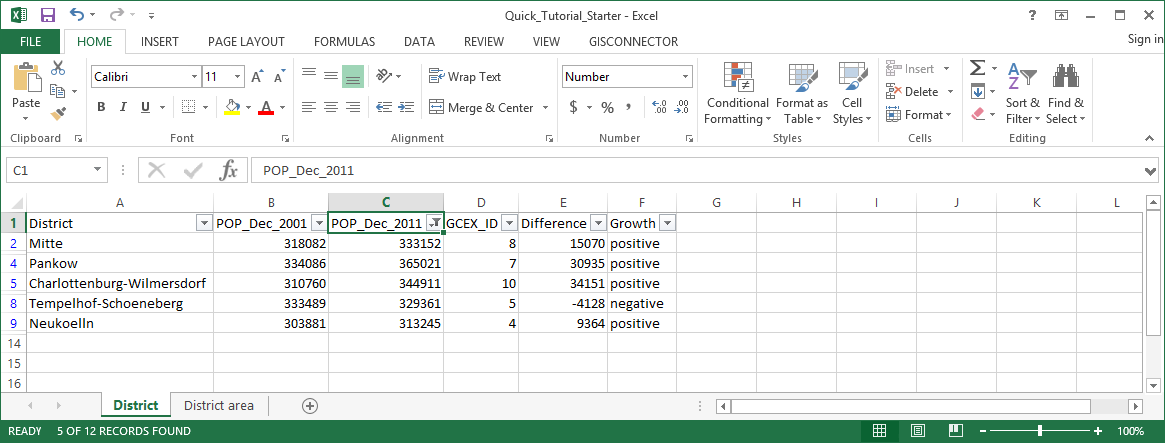
5. Only 5 entries will be left displayed. The filtered column „POP_Dec_2011“ will be shown with the filter symbol  accordingly.
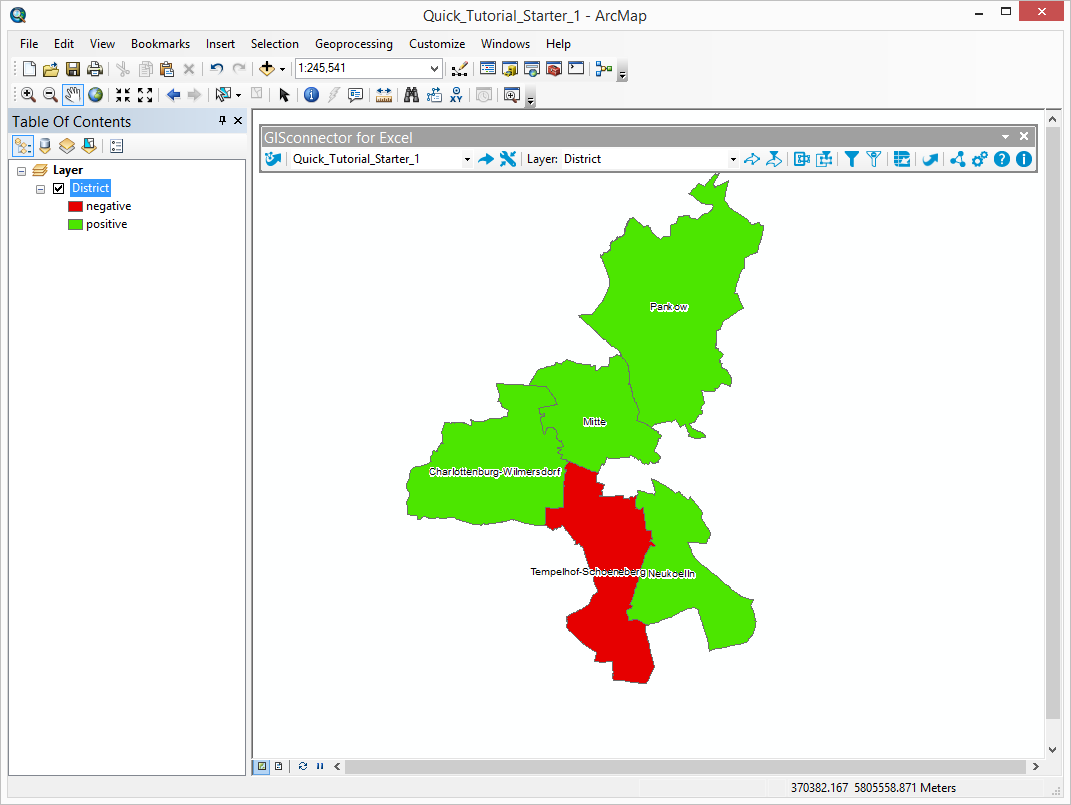
6. Now send the Excel filter as definition query to ArcMap using the button  „Send filter as definition query“.

7. In ArcMap you can only see those districts now, that had more than 300.000 inhabitants in 2011. All others are faded out according to the definition query.
8. You can see how the GISconnector implements definition queries in ArcMap in the Layer Properties of the Layer „District“ in the index „Definition Query“.
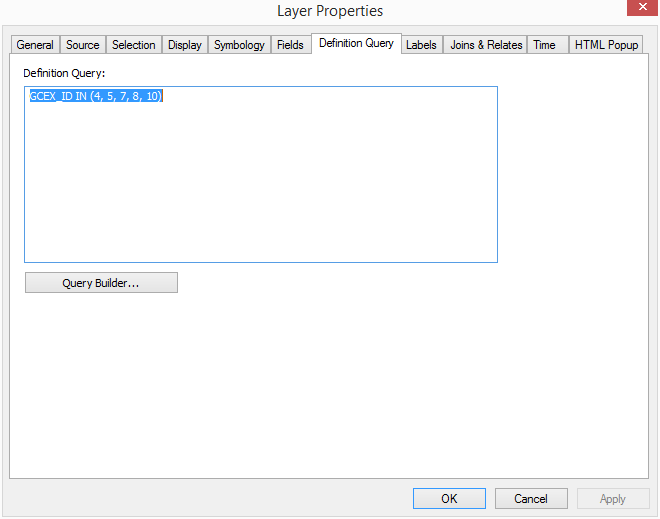
With the help of GISconnector for Excel you can use the filter capabilities of Excel directly in ArcMap. Display only the data in ArcGIS that you need. Change the display fast and conveniently by changing your Excel-Filters and sending them to ArcMap.