Lection D: Use classic GIS functionality like select-by-location in Excel
Task: Select by location in ArcMap and send it to Excel as a filter.
1. Now open the second ArcMap-Projekt "Quick_Tutorial_Starter_2.mxd". The mxd file is located in your user directory in Documents\GI Geolabs GmbH\GISconnector for Excel Tutorials\QuickTutorialStarter.
2. Besides the already known layer "District" the mxd file additionally includes the layer "District_area". It represents smaller administration units in the twelve districts.
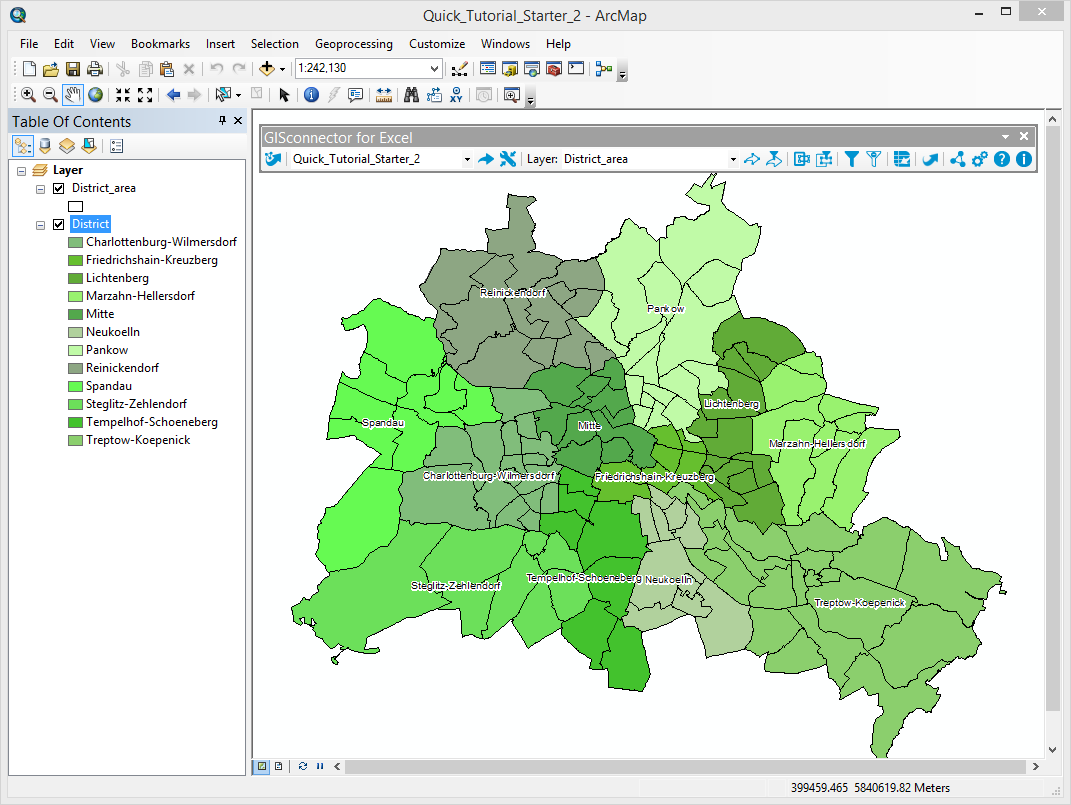
3. Please check if your GISconnector toolbar displays the connection „Quick_Tutorial_Starter_2“. If this is not the case select it in the dropdown menu.

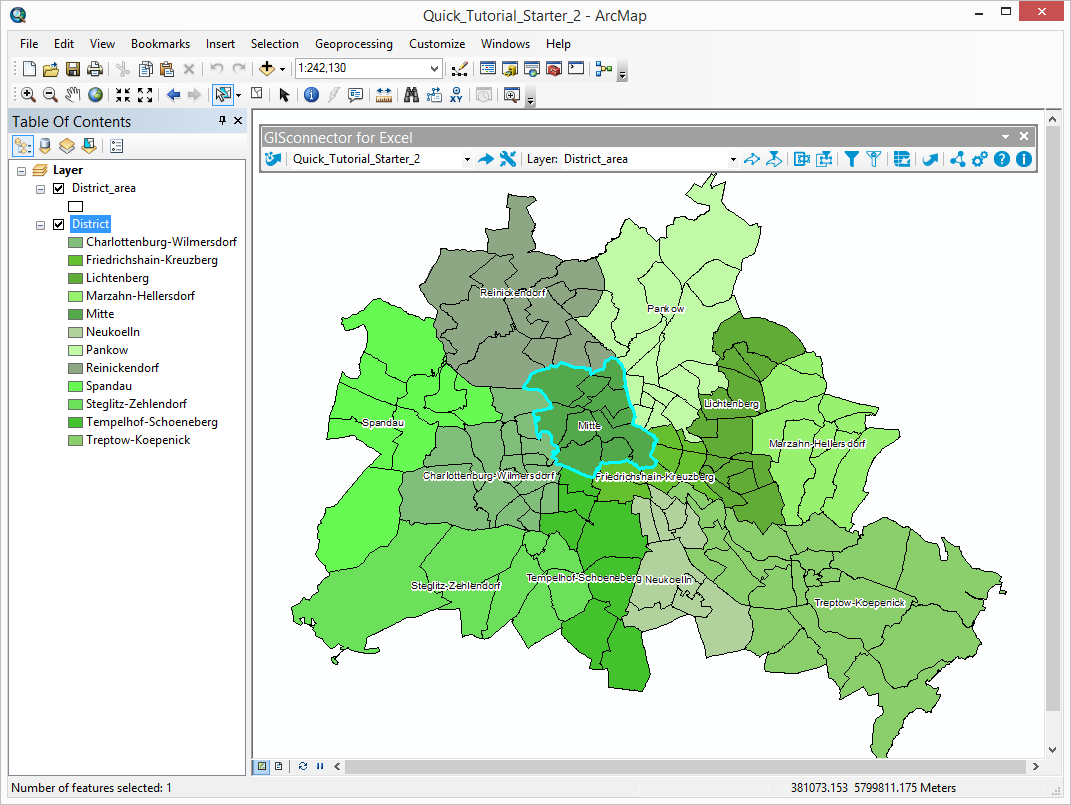
4. Select the marked district „Mitte“ manually with the selection tool.
5. All district areas, that are located no further than 3 km to the district "Mitte", shall be selected. In order to do this select by location („Selection“ - „Select by Location…“). Do not forget to check "Use selected features" within the Source layer.
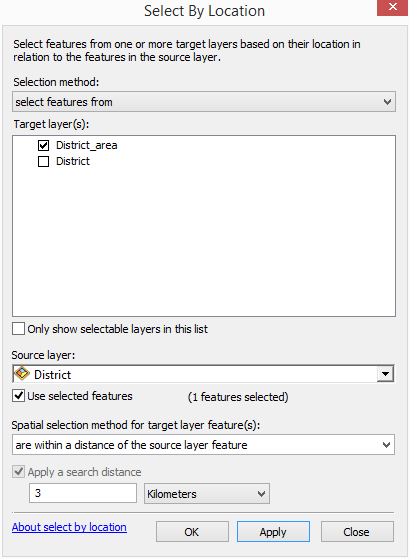
6. Confirm your settings with OK.
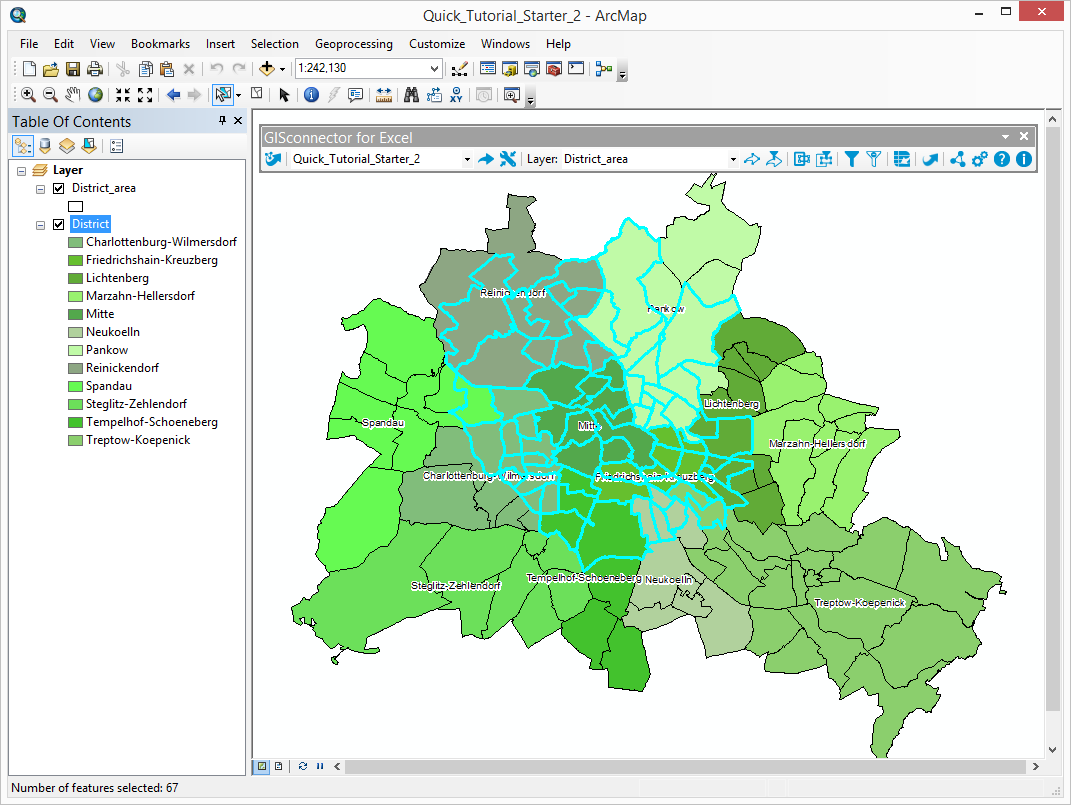
7. All Features which meet the criteria are selected now.
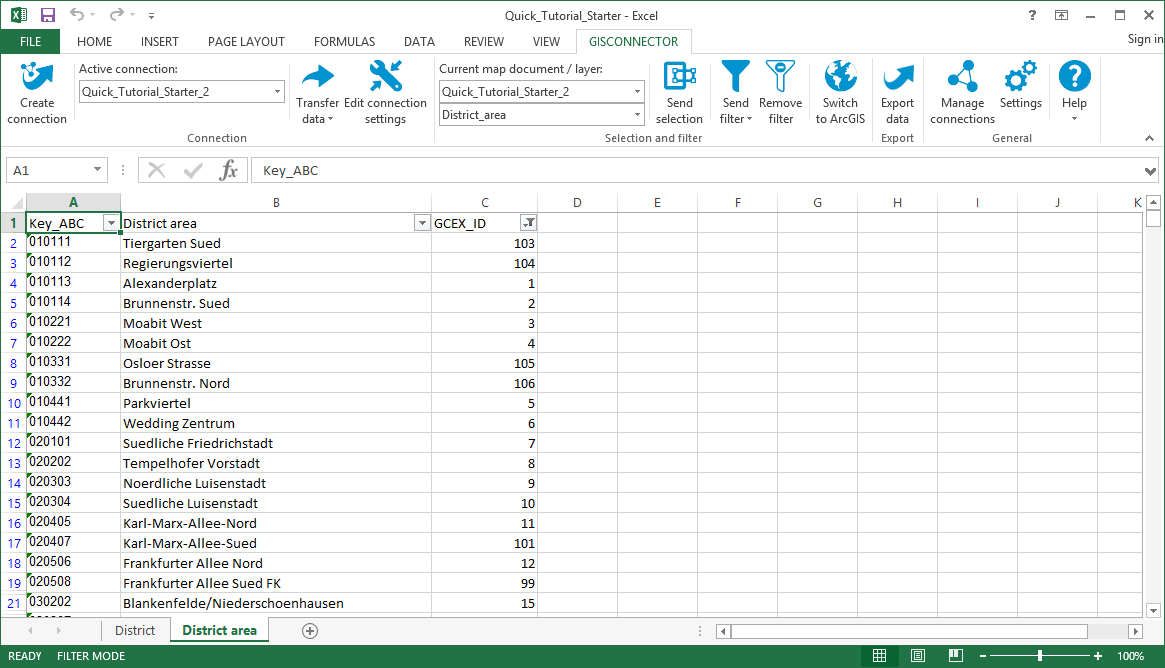
8. Now click the button  „Send selection as filter“. The Excel document will open automatically.
9. Based on the filter symbol  in the column "GCEX_ID" you can see that the data is filtered now.
10. To finalize Tutorial 4 switch back to ArcGIS by pushing the button  "Switch to ArcGIS".

11. Remove the filter selection with the button  "Remove definition query".
In order to save the location-based selection permanently in your Excel table, you could create a new column in the Excel worksheet (e.g. called "close_to_downtown") and fill in the information of the location-based selection (e.g. "Yes"/"No"). Subsequently, you can retransfer the data to ArcGIS again. On creating new columns please consider they have to be formatted consistently. The cell format "Standard" is not recommendable because it is ambiguous and may lead to compatibility problems. Instead, use the formats Number or Text.
The GISconnector for Excel enables you to use ArcGIS functions like Select-by-Location in Excel.