Lection A: Transfer data between Excel and ArcGIS
Task: Transfer the content of an Excel table into an attribute table of a feature class.
1. Start with the already opened ArcMap project „Quick_Tutorial_Starter_1.mxd“.
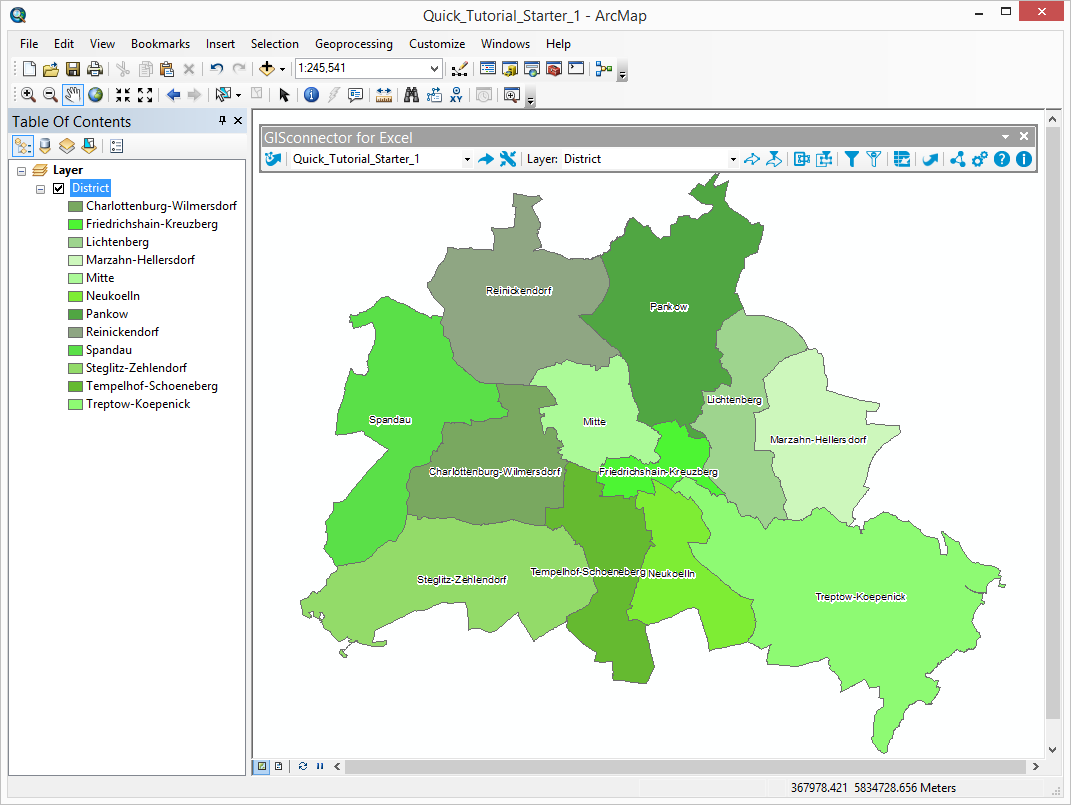
2. In the table of contents you can find the layer „District“, which contains all twelve districts of Berlin, Germany's capital.
3. Activate the toolbar „GISconnector for Excel“ in the menu "Customize" - "Toolbars".
4. The GISconnector toolbar is displayed now and a connection to an Excel table has already been created.

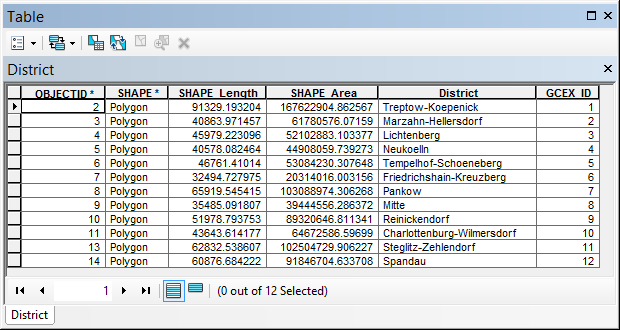
5. Open the attribute table of the layer „District“. Besides the system fields, there is the field “District” and the field “GCEX_ID”. The latter is created by the GISconnector itself once a connection between an Excel-table and a Feature Class resp. a Shapefile is established. This column is managed by the GISconnector itself.

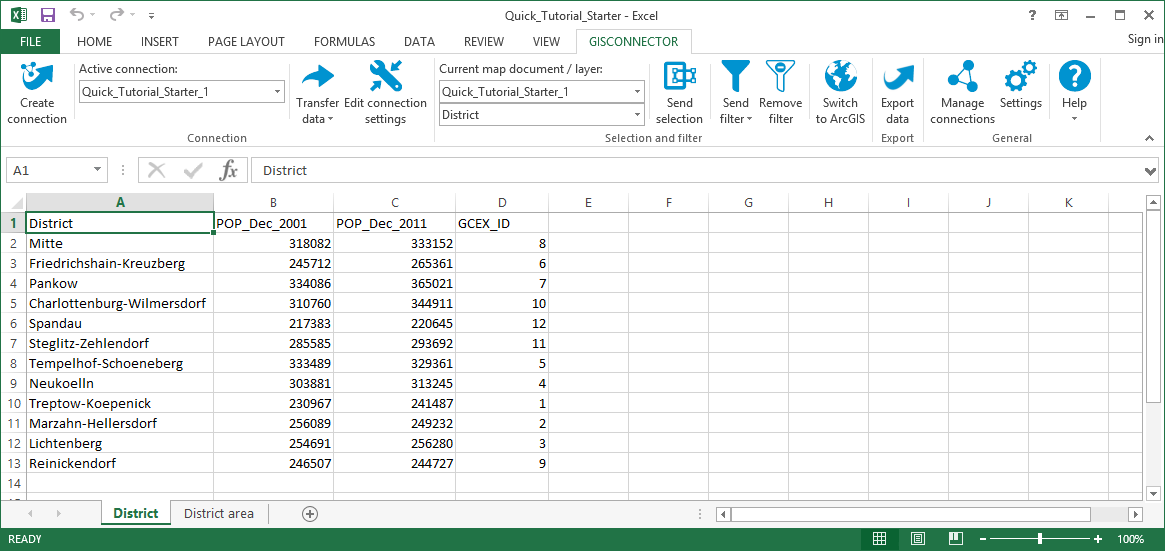
6. Now switch to Excel by pushing the button  "Switch to Excel" in the GISconnector toolbar. The Excel file, that contains the worksheet "District", opens automatically.
For further information regarding the toolbar in Excel, please click here.
7. The worksheet „District“ is connected to the Feature Class "District" by a GISconnector connection. The active connection is displayed in the GISconnector toolbar ("Quick_Tutorial_Starter_1").
8. The table „District“ contains two columns with population figures of Berlin for the years 2001 and 2011. The column “GCEX_ID” exists here as well.

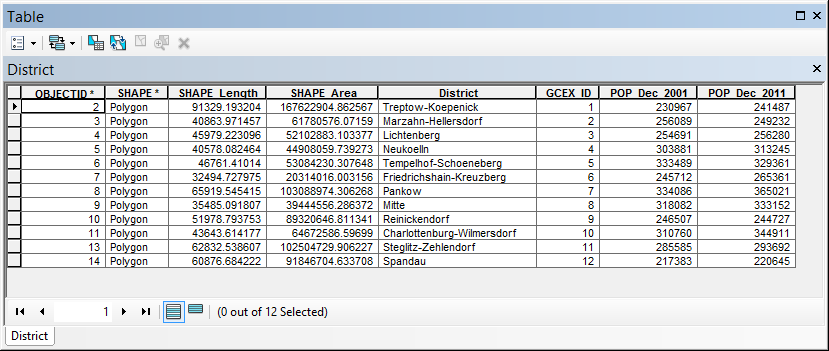
9. Now transfer the data from Excel to ArcGIS using the button  „Transfer all data“ in the dropdown "Transfer data".

10. The GISconnector switches to ArcGIS automatically after the transfer. The attribute table of the layer “District” contains the transferred data now.

The GISconnector enables a bidirectional exchange of data between Excel and ArcGIS. Your advantages are:
- No schema lock in your Excel and ArcGIS data
- No editing session necessary
- Fast and easy editing of Excel data and transfer to ArcGIS at any time or reverse
- Process your data faster than ever before